Showing posts with label Before and After. Show all posts

Friday, August 1, 2014

DIY Picture Frame Tray

I wanted to find a tray for my kitchen to hold my sugar bowl, and my oil and vinegar bottles.  I looked everywhere for either a lucite one or a turquoise one.  And as fate would have it, as soon as you start looking for something specific it can never be found!

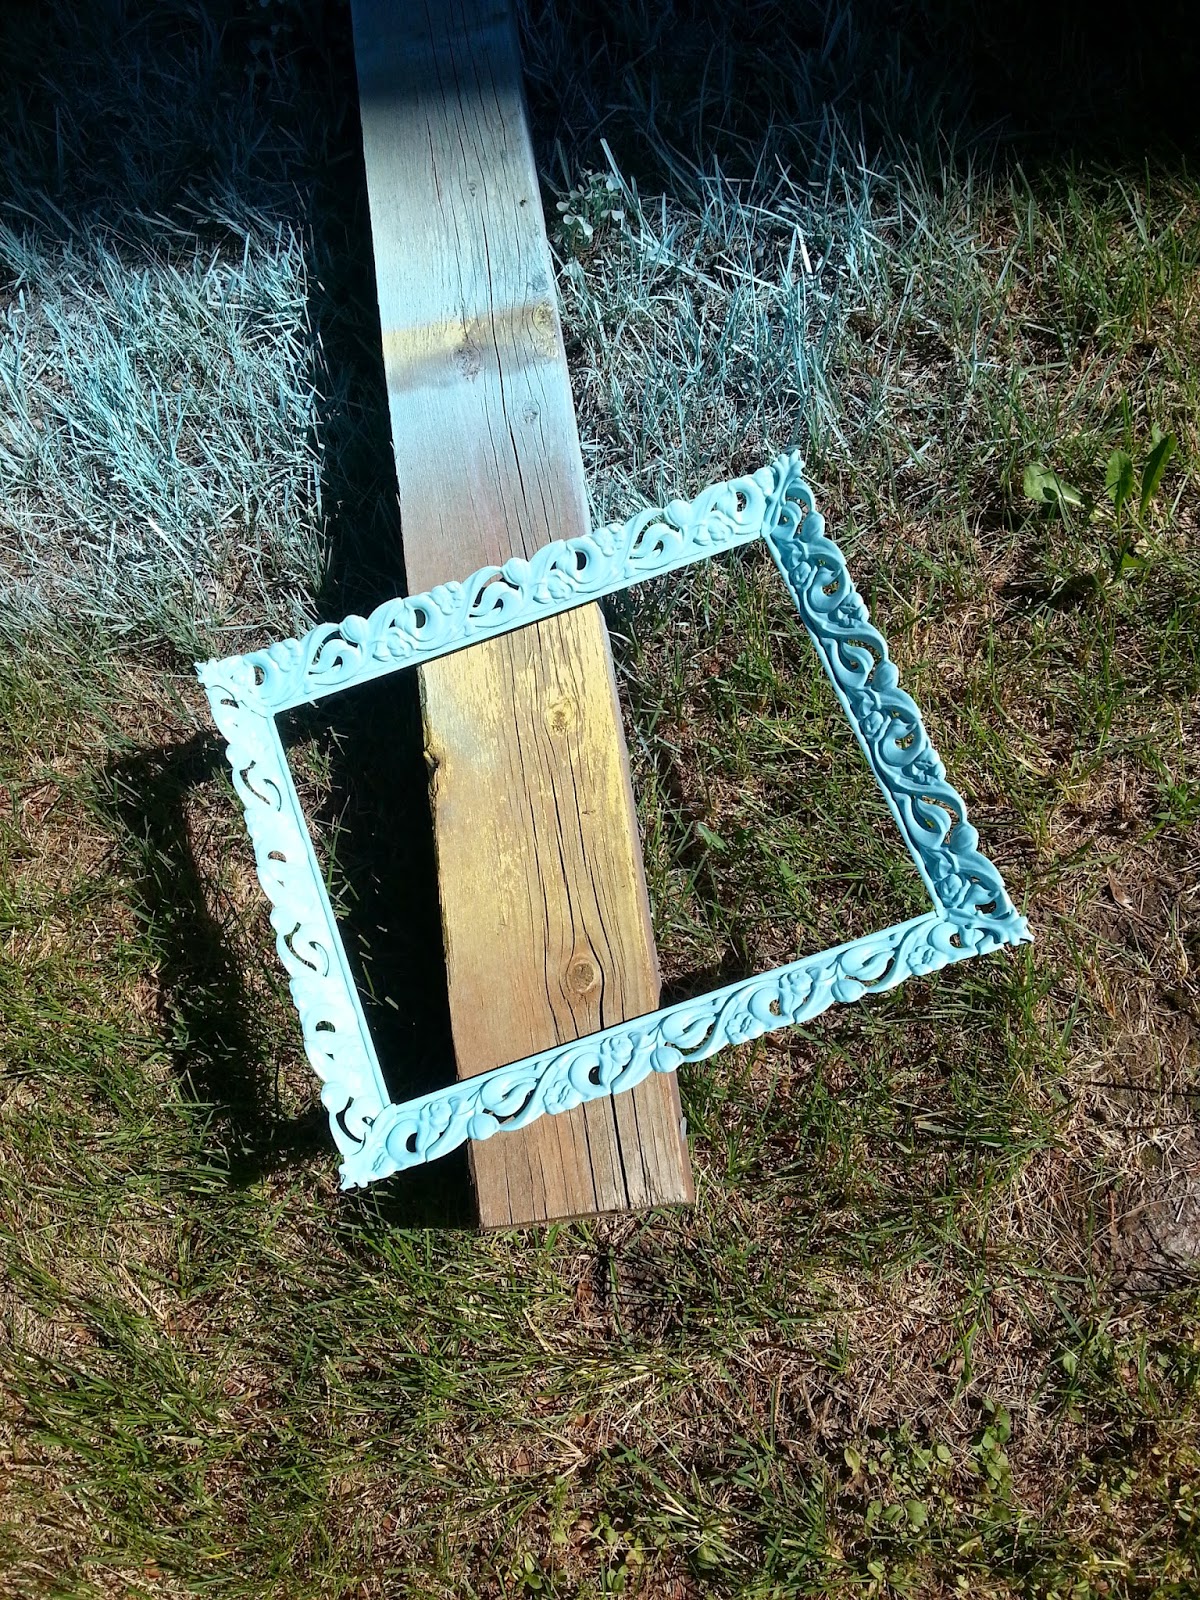
My mom had some old picture frames lying around from when we moved my grandparents into their residence.  It was unique, with a pretty border.  But I hated the brass colour.  Sorry guys, still not jumping on the gold/brass bandwagon!


I removed the clips and stand from the back with a pair of pliers.


Then it was simply a matter of spray painting the frame.  I used Krylon's indoor/outdoor Ocean Breeze.


I made a chevron pattern, and printed it from my computer.  Then put the whole frame back together. 


Makes a great tray if I do say so myself!  And it only cost $5.00 for the paint!

Tuesday, April 22, 2014

Classy Closet

I've been slowly plugging away at my bedroom...and I do mean slowly!  Last Christmas it was painted, then I purchased some new accessories in February.  Over March Break (wow that feels like a long time ago!) I painted my closet doors.  I LOVE how they turned out.

Here's a before of what the doors looked like.  Plain, builder white.  Don't mind the blue tape.  The photo was from back when I did my pre-delivery inspection.


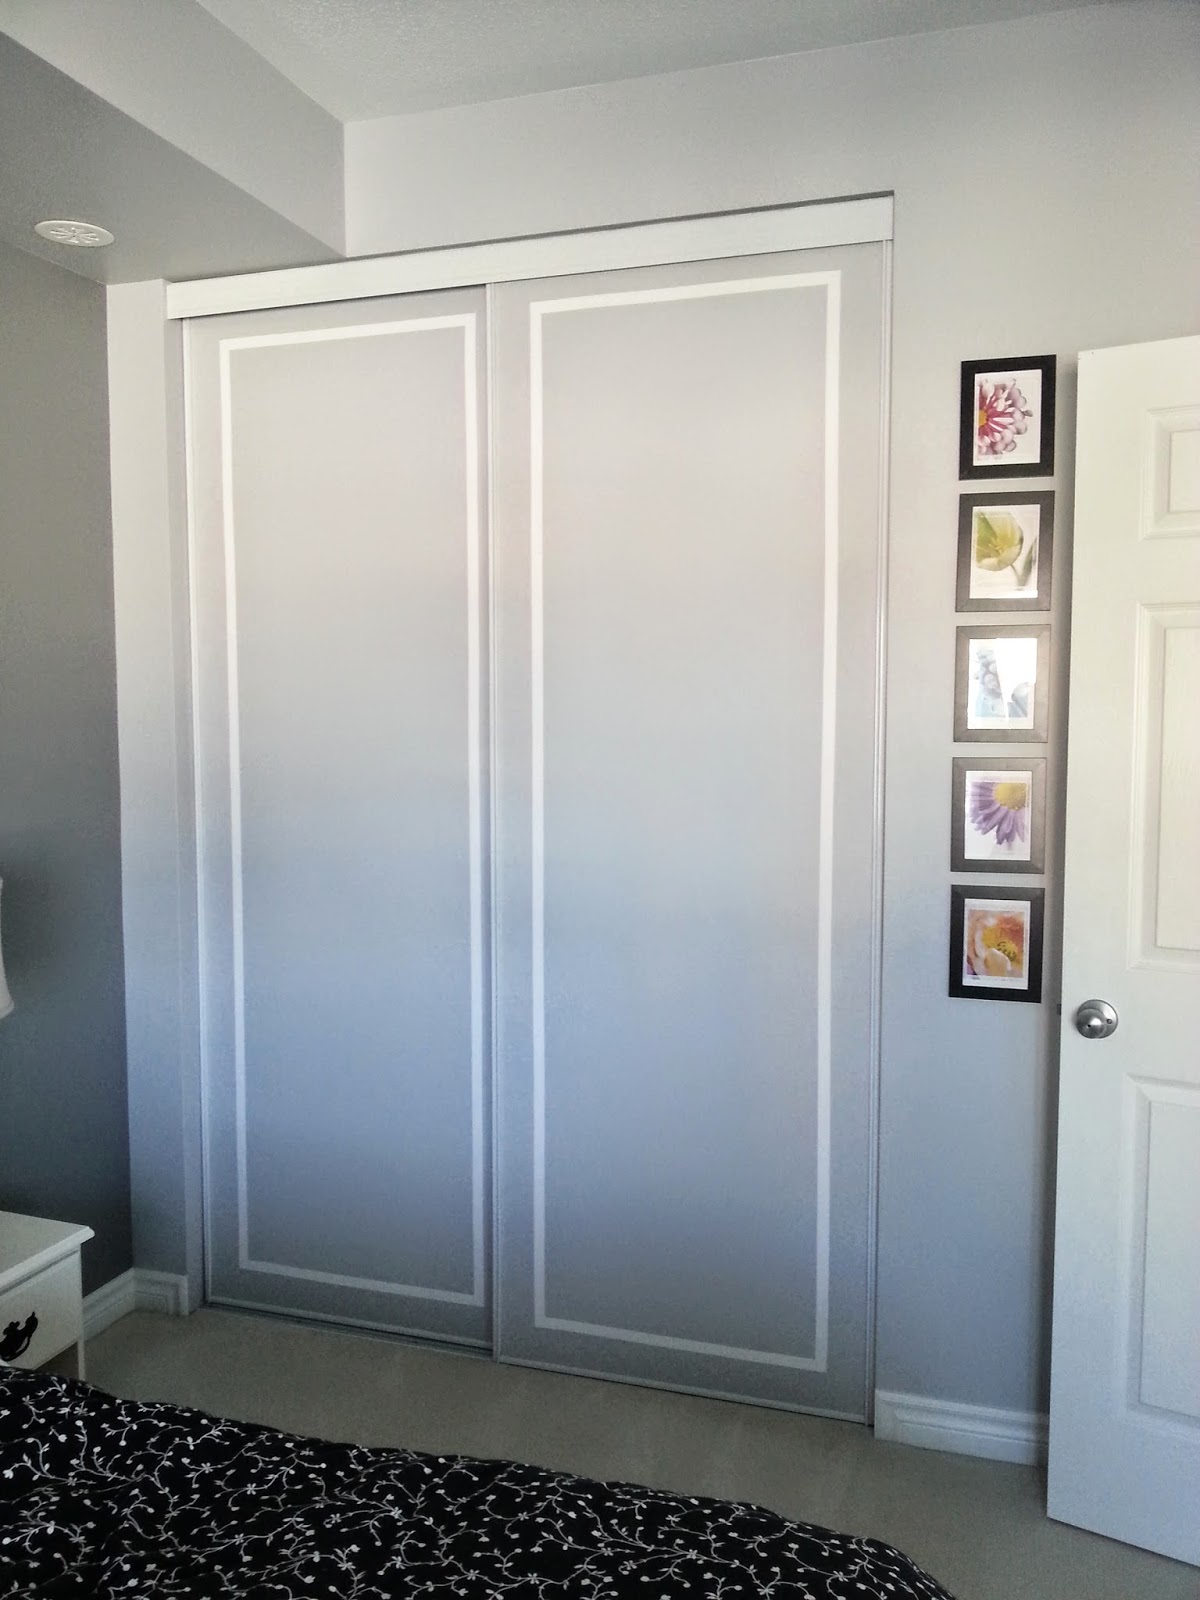
Here's what they look like now!


All that is required for this project is some painter's tape, a pencil and ruler, and your wall paint colour. Super simple!

I measured 3 inches in from all my corners and made a mark on the door.  Sorry for the grainy, phone photos. I took them on a snowy, blizzard day in March so the lighting was pretty bad!


I made a few marks down the sides as well to line my tape up.  I pressed the tape down to make sure it was sealed REALLY well.


Then it was simply a matter of painting over the entire door, tape and all!  I did 2 coats on each door.


I was nervous when I peeled the tape off since I wasn't sure if the paint had bled through.  Luckily, it wasn't too bad.  The worst spots were the corners.  I took a small razor blade and lightly scraped off the paint splotches that seeped under the tape.  Lesson: make sure you press the corners down really firmly!  


The doors now blend really nicely with the wall and don't seem so huge.  The pattern is simple and very classy looking.  It really draws your eyes up and reinforces the high ceilings!  I LOVE them!!  If you are looking for an easy way to spice up your boring doors, this is the project to choose!


Sunday, June 16, 2013

My Blue Balcony

My outdoor space has come together quite nicely, and just in time for the great summer weather!  I decided on a blue colour scheme centered around my blue ceramic flower pot.  I've already spent so much time just hanging out and relaxing on the balcony.


It's a pretty small space but I definitely wanted a spot to eat meals and enough seating for when guests come over.


I love the white stool between the chairs.  It can also double as extra seating, and as a side table when I bring it indoors in the winter.  My little recycling pail matches the quatrefoil-patterned outdoor carpet perfectly!


I also get to enjoy Littlefoot Gardens which is going to produce such good vegetables this summer!


The outdoor solar lights were a also a great find from Jysk.  I've never seen bottle lights before so I had to snatch them up!


Last year it was just an empty space with some furniture.


This year it's got some spunk!


Here is the resource list of everything on the balcony:

Furniture
Swivel Rocking Chairs: Zellers
Grey Mesh Chairs: Loblaws
Table: Canadian Tire

Accessories
Pillows: Jysk
Bottle Solar Lights: Jysk
Outdoor Carpet: Jysk
Stool: Winners
Recycling Pail: Giant Tiger

Plants
Rail Planters: IKEA
Green Planter: Home Depot
Blue Ceramic Planter: someone's trash :)

Want to read about the balcony design from the beginning?  Here's a list of all the published posts along the way!


Thursday, March 7, 2013

Makeup on Shelf, Not on Toilet...Check!

So, if you've been around these parts for a while now, you know that I have been working on fixing up the bathroom to include better storage and give it a more personal feel rather than the generic standard condo bathrom layout.

If you're new to B5, here's what my bathroom looked like before:


You'll notice the complete lack of storage, and my makeup was being stored in a basket on the back of my toilet.

Well no more!!

I put up some Grundtal glass shelving from IKEA and installed them over my toilet.  They don't stick out too far, and you can see through them.  This helped to keep the bathroom feeling open.  I was worried with the Lillangen shelving unit across from the toilet and the shelving it would seem too closed in, but the glass just disappears into the wall!

Here's a few shots of how it looks now:


I love that my makeup and bath products now have a real home where I can access them easily. 
Here is how the list looks now, with links to the completed projects for you to check out:
So close to being done!  I think I may even have a lead on a new light fixture...the end is in sight!
   

Thursday, December 20, 2012

Tackling the Bathroom: Update

Last time I filled you guys in on the bathroom, we had just given the shower curtain a much needed makeover. About a month ago IKEA had a bathroom event and after lots of measuring and time spent on the IKEA website, I decided on the Lillangen mirror and mirrored cabinet to add the much needed storage in my bathroom.

LILLĂ…NGEN Mirror IKEA

LILLĂ…NGEN Mirror cabinet with 1 door IKEA Shallow cabinet; ideal for limited spaces.
I didn't get the legs for the tall cabinet since I had two Capita legs left over from Bert's installation, so I used those instead.  I also didn't put the two side hooks on, but decided to save them in case I needed them later.

As a reminder, here's what the bathroom looked like before:

\


This was after we removed the mirror and painted.


And here's the bathroom now!


I also picked up two hooks which you can see in the picture above to hang towels on.  I've never been a fan of towel bars.  Hooks are more convenient I find!  I LOVE that my makeup is no longer on the back of the toilet! It's so much cleaner and less cluttered.  The Lillangen series is made with smaller spaces in mind so they fit great.  And their black-brown colour matches perfectly with my existing cabinetry.

So here is how the list looks now, with links to the completed projects for you to check out:

Making progress!!

Tomorrow is the last day of school before Christmas break and they are calling for a big snowstorm with 30cm of snow forecast. Looks like it's going to be a white Christmas here!  Stay safe if you're travelling this weekend!


Wednesday, October 24, 2012

Shower Curtain Makeover

The bathroom is coming along so well, I'm super pumped about how it's looking.  The mirror has been removed (so in the meantime I'm having to use my bedroom mirror for getting ready every morning!), the room has been painted, and now the shower curtain has had its makeover!  He received some extensions!

This is what the shower curtain looked like when I purchased it.


I love it for its waffly texture, the fact that it has a mesh area at the top to let extra light in, and, the liner is removable for easy washing.  The huge downside...it is WAY too short!  The rod is placed so high that the standard height of the curtain just isn't cutting it.  Plus, I am always nervous water is going to escape.

I loved the bird fabric my mom used as pillows on her bed, so luckily she said yes when I asked if I could borrow a strip for the bottom of the curtain.

Here's the shower curtain now!


Now I can scratch another thing off the good ol' bathroom to-do list!
  • Add a piece of fabric to the bottom of my shower curtain (notice how short it looks? Everything in my bathroom was made for a very tall person...)
  • Update the shower head (again, it is mounted so high that by the time the water reaches my head, only the ends of my hair get wet!)
  • Update the light fixture
  • Change out the mirror
  • Add some closed storage
  • Add towel hooks
  • Add some open shelving over the toilet
  • Paint
I love a little bit of coloured pattern in a bathroom!  How about you?