Showing posts with label Decor. Show all posts

Thursday, August 29, 2013

Meet My Big, Yellow Bird

Not this big, yellow bird....


but this yellow bird!


He's the new Kladsam mobile from IKEA!  I call him Iggy.  Originally, Iggy was meant to go on my balcony where he could swing in the breeze.  However, I didn't realize how high the ceiling is out there and I couldn't reach...even with a ladder and a chair... I knew his winter home was going to be in my living room, so I put him there for the time being.  Turns out he looks great there and I think he's found a permanent home!  


Iggy is not very heavy, so he's just suspended by some extra manila rope I had and a 3M hook stuck to the ceiling.  So far there's been no danger of him falling down and he has great conversations with his woodland squirrel friend too...  Is it possible to have too many animals in one location?

I love his bright, yellow colour, and he matches a lot of the other decor in the room, while still being original in his own right.


Best part is, it's like having a pet, but he doesn't make a peep, hehehe...


Tuesday, July 30, 2013

DIY Capiz Shell Pendant Light

Only 1 week left of the IKEA Kitchen event thank goodness!!!!... these things come around every few months and they are brutal for my department.  My feet throb when I get home!  A nice excuse to sit on the couch with my feet up and read some blogs if I do say so myself!

Ok back to our regular scheduled programming...

The majority of the lights in my house are standard issued boob lights.  You know the ones...


For the record, I can't walk down the lighting aisle in hardware stores without giggling to myself at them all hanging there... Mine are luckily missing the "nipple", so it doesn't make them quite so bad.  But I still want to change them all eventually.  I just said nipple in a blog post...

I wanted a light fixture in my front hall that was different and interesting.  The catch was it couldn't hang down very low as my front door still needs to open and I have a dropped ceiling there.  I'd always liked the look of capiz shell chandeliers (both DIY and non) but I never liked the shape of them.  I think I liked the material more than the chandelier part.

Well, one day in Homesense, for $14.99, I found this:


It's a capiz shell pillar candle holder!  


I snatched it up, picked the one that didn't have any cracks, and proudly carried it home, knowing I could convert it into a light somehow.

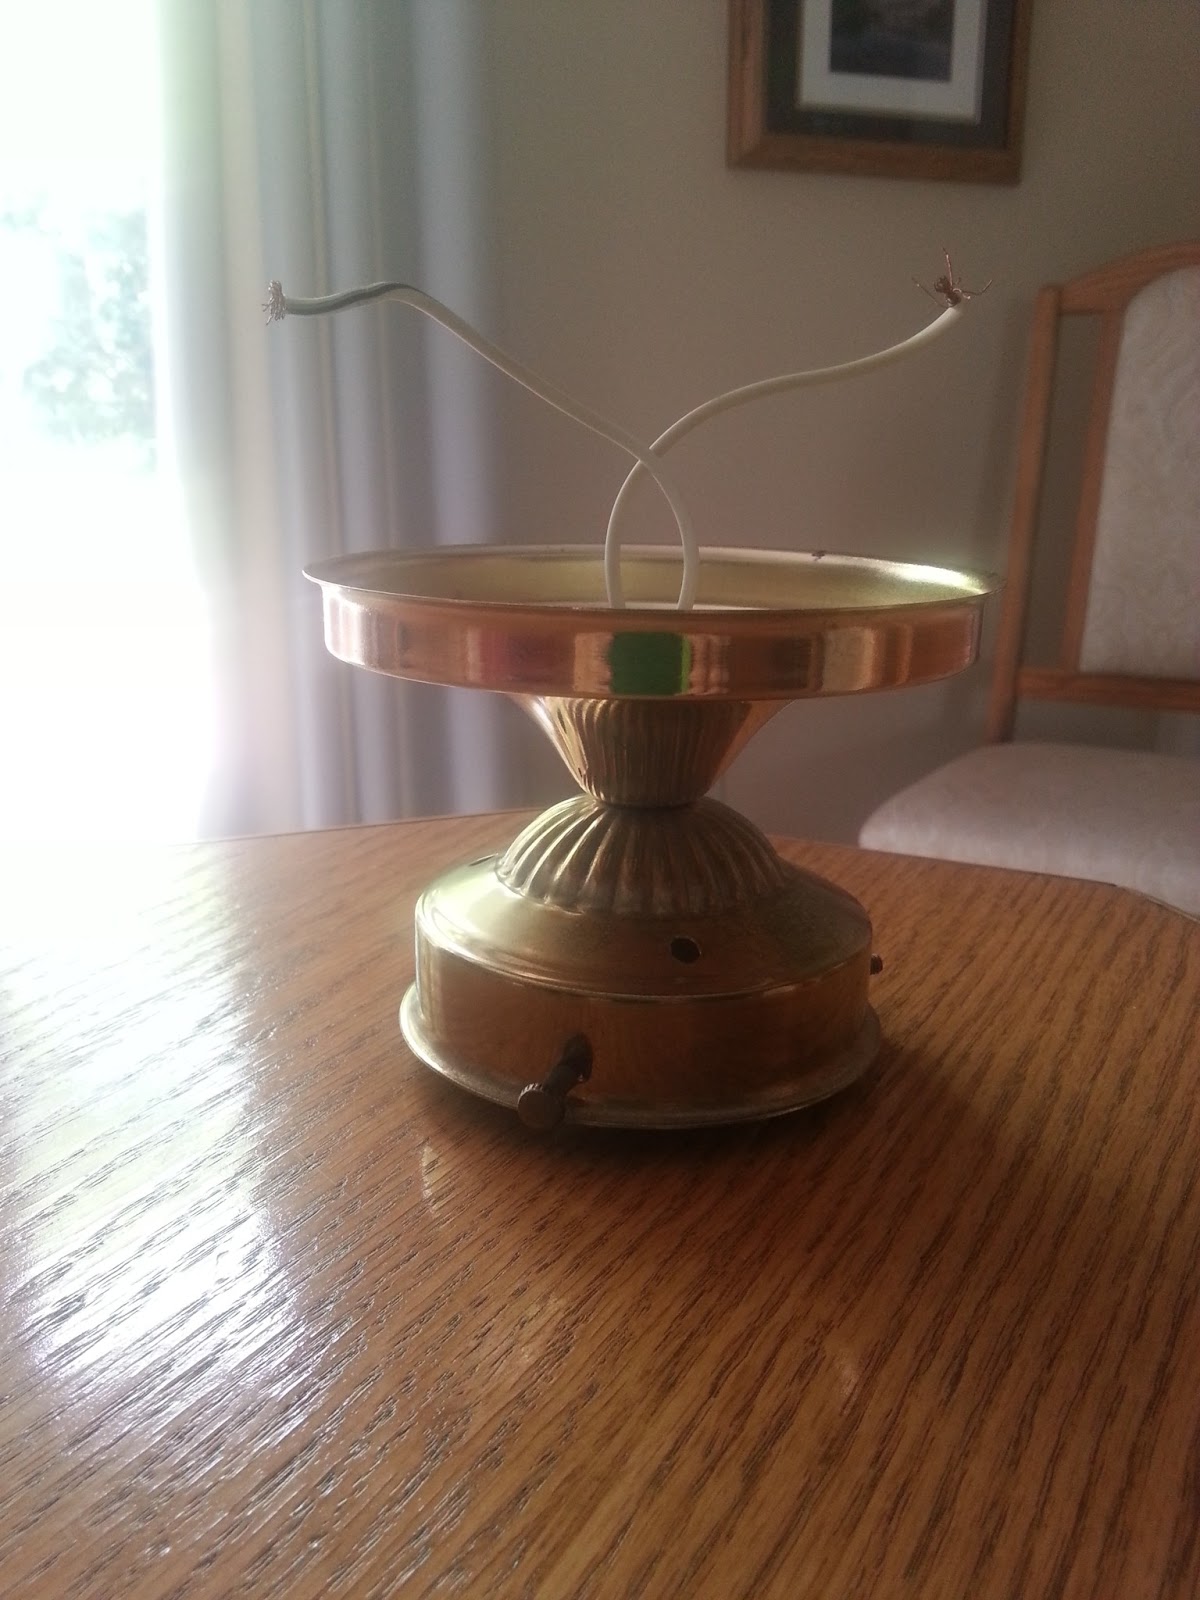
When I told my mom about my plan, she sprung into action and checked her basement for old lamp parts. Low and behold she found this.  A ceiling canopy that has a place for a light bulb and is already wired. SWEET.


So I took to removing the candle holder part on the inside.  Totally thought wire cutters would do the trick. Nope.  Metal's too thick.  So I went with the good ol' hack saw and sawed right through the three pieces holding the round piece in the middle.


I spray painted the ceiling canopy silver and it was time to assemble!

   
I bought some thin wire from the hardware store for $2.00.  Since the canopy was smaller than the opening of the candle holder, I had to affix it to the frame.  The canopy had three holes in it already for screws, so I twisted some wire together and left long pieces sticking out.


I wrapped the long ends around the frame to secure it in place.  I tried to centre the canopy as best as I could.


It was ready to be wired for it's debut!


My Dad came over and did the install for me.  I don't like working with electricity so much.  No more boob light here!


It casts the coolest shadows at night too!


The light bulb can be easily changed out by just reaching up the middle.  This light fixture cost about $25 total.  I call that a win!


My front entry is now finished!  I'll post the reveal and some before and afters in the next few days!


Sunday, June 16, 2013

My Blue Balcony

My outdoor space has come together quite nicely, and just in time for the great summer weather!  I decided on a blue colour scheme centered around my blue ceramic flower pot.  I've already spent so much time just hanging out and relaxing on the balcony.


It's a pretty small space but I definitely wanted a spot to eat meals and enough seating for when guests come over.


I love the white stool between the chairs.  It can also double as extra seating, and as a side table when I bring it indoors in the winter.  My little recycling pail matches the quatrefoil-patterned outdoor carpet perfectly!


I also get to enjoy Littlefoot Gardens which is going to produce such good vegetables this summer!


The outdoor solar lights were a also a great find from Jysk.  I've never seen bottle lights before so I had to snatch them up!


Last year it was just an empty space with some furniture.


This year it's got some spunk!


Here is the resource list of everything on the balcony:

Furniture
Swivel Rocking Chairs: Zellers
Grey Mesh Chairs: Loblaws
Table: Canadian Tire

Accessories
Pillows: Jysk
Bottle Solar Lights: Jysk
Outdoor Carpet: Jysk
Stool: Winners
Recycling Pail: Giant Tiger

Plants
Rail Planters: IKEA
Green Planter: Home Depot
Blue Ceramic Planter: someone's trash :)

Want to read about the balcony design from the beginning?  Here's a list of all the published posts along the way!


Tuesday, June 4, 2013

How to Make a {Fake} Terrarium

When I was in Target on my vacation to Toronto, I bought a cute little bell jar and it just screamed terrarium. Mostly because I'm not sure what else you are supposed to use bell jars for.  In any case, I had seen a lot of them around and rounded up some pictures for inspiration.

Custom for Scott Vonderheide


I knew I did not want a real one.  I know the whole point of them is that they are low maintenance, but I had visions of killing it.  So I wanted something that required NO maintenance!


Supplies:
Flower foam
Toothpicks
Moss
Fake plants

I picked up the flower foam at the Dollar Store and I got the moss and fake plants at Michael's.  I already had the toothpicks.  All the supplies came to about $9.00.  I recommend doing this project outdoors since the moss and foam cutting can get quite messy.

I started by cutting my flower foam in half.  It was a big thick brick and much too thick to fit inside the glass. Then, I put the two cut pieces side by side and traced around the bottom of my wooden base.  This gave me a general guide on how big the circle needed to be.


I cut out the circle using a steak knife...yeah no super high tech tools here!  I kept testing it in the base until it fit.  I needed to shave quite a bit off of the sides in order to make it the right height and diameter.  It doesn't need to be perfect since you will be covering it with moss anyway.  Make sure you leave enough room around the outside for the glass to fit around it.


I stuck two toothpicks in the centre of one half of the foam and attached the two pieces together.  Then I covered the circle in moss.  I thought about using glue, but I wasn't sure as to the quality of the moss I bought and I wanted a less permanent solution.  So I used the toothpicks again.  I cut them in half and stuck them in the moss right through the foam leaving barely a point visible.


I bought a fake plant that included 3 different flowers on it.  Depending on what you buy you might be able to skip this step.  I cut my flowers off and trimmed their stems.


 Then I stuck them in the moss covered foam!  You can do whatever arrangement you find appealing.


And there you have it, your own fake terrarium that requires no maintenance!  You can just admire it through the glass :)  From far away and under the glass, no one can tell it's fake.  In total, it cost me less than $25 including the jar (which I bought on clearance), and took only an hour to create!


Thursday, March 21, 2013

How to Hide Your Cords

Long dangling cords have been driving me crazy lately.  These are the worst offenders right now:


They are right in my line of sight when I am sitting on my couch.  It's annoying.  I give them the evil eye every time I sit down.  I finally got off my butt and did something about it!  I purchased a pack of 3M clear hooks. The smaller you can find the better.

I attached three of them in alternating directions on the back of the table leg, then hooked the cords around them.  (The little tab to remove them was long and stuck out the side of the table, so I just folded it over and tucked it in with the cords and it fit perfectly.)


I then used some blue poster tack to stick the cords along the thin edge of the shelf.

  
You'll never hide the cords completely.  That only happens in magazines ;) But you can make it so they aren't nearly as offensive!


Such a neat and cheap trick, but makes a big difference!