
Ok back to our regular scheduled programming...
The majority of the lights in my house are standard issued boob lights. You know the ones...

For the record, I can't walk down the lighting aisle in hardware stores without giggling to myself at them all hanging there... Mine are luckily missing the "nipple", so it doesn't make them quite so bad. But I still want to change them all eventually. I just said nipple in a blog post...
I wanted a light fixture in my front hall that was different and interesting. The catch was it couldn't hang down very low as my front door still needs to open and I have a dropped ceiling there. I'd always liked the look of capiz shell chandeliers (both DIY and non) but I never liked the shape of them. I think I liked the material more than the chandelier part.
Well, one day in Homesense, for $14.99, I found this:

It's a capiz shell pillar candle holder!

I snatched it up, picked the one that didn't have any cracks, and proudly carried it home, knowing I could convert it into a light somehow.
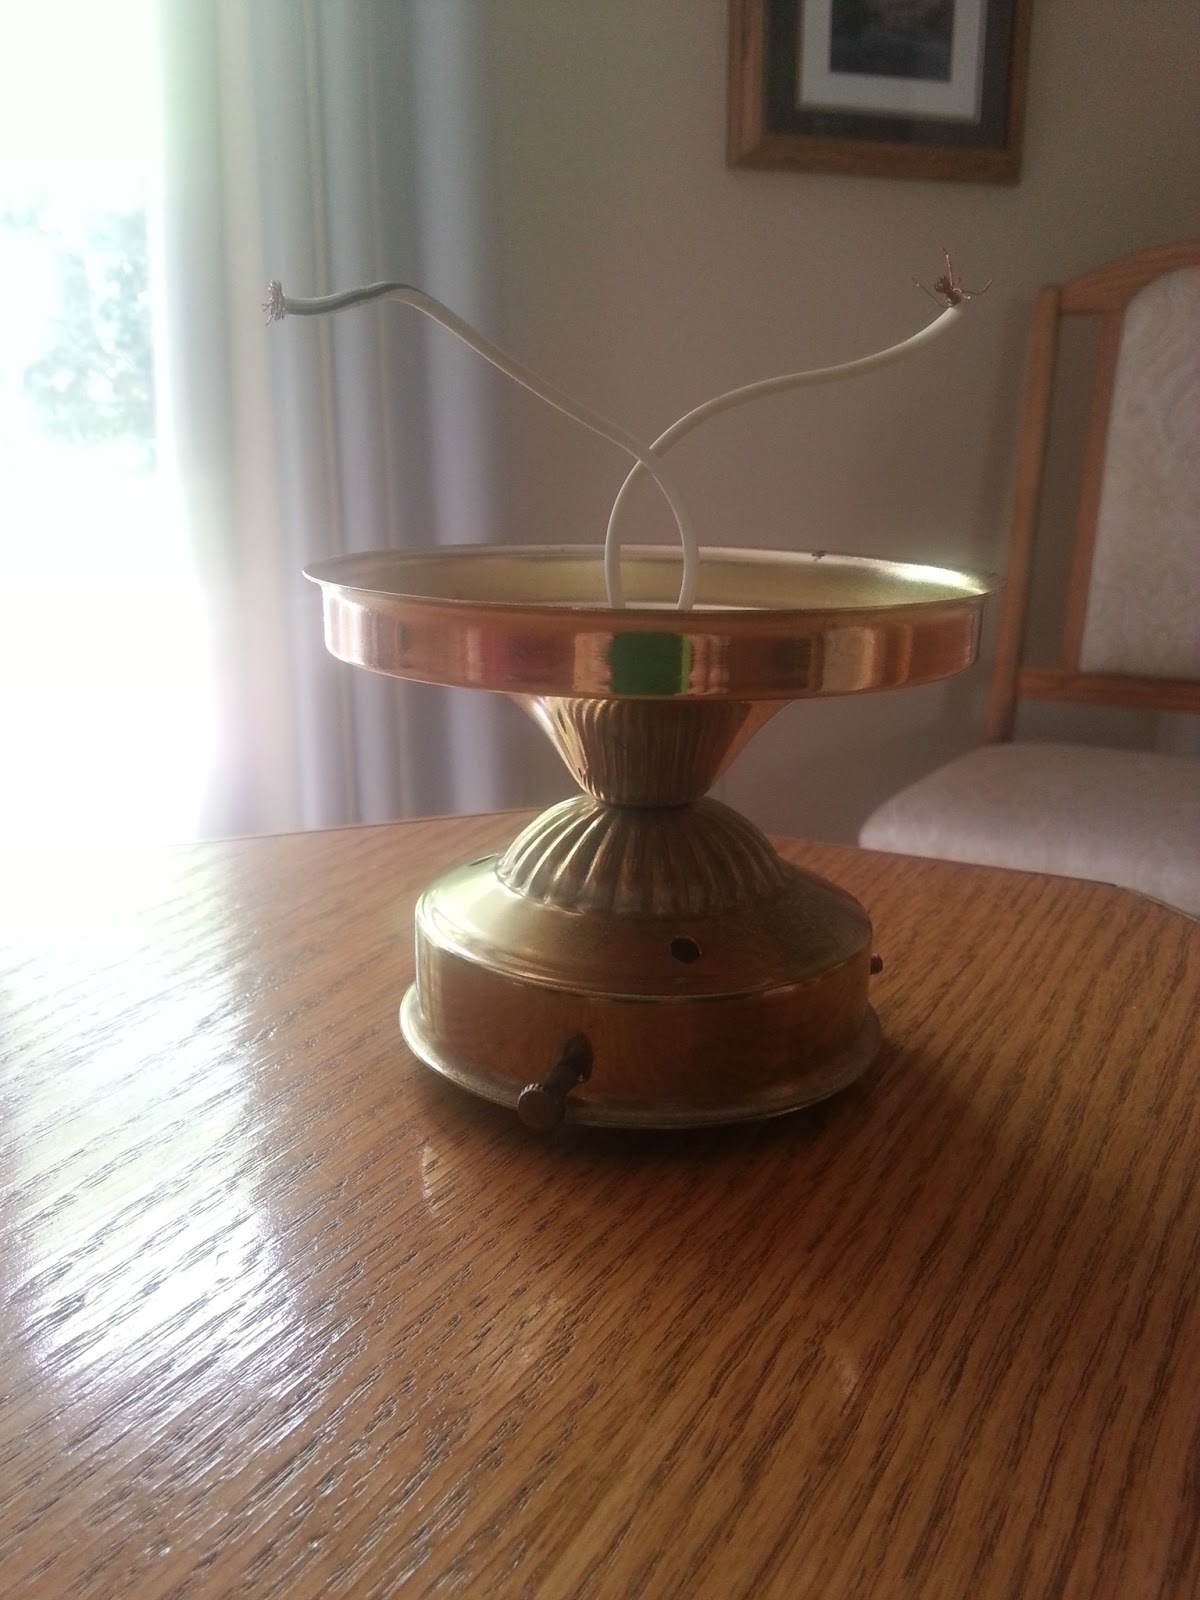
When I told my mom about my plan, she sprung into action and checked her basement for old lamp parts. Low and behold she found this. A ceiling canopy that has a place for a light bulb and is already wired. SWEET.

So I took to removing the candle holder part on the inside. Totally thought wire cutters would do the trick. Nope. Metal's too thick. So I went with the good ol' hack saw and sawed right through the three pieces holding the round piece in the middle.

I spray painted the ceiling canopy silver and it was time to assemble!

I bought some thin wire from the hardware store for $2.00. Since the canopy was smaller than the opening of the candle holder, I had to affix it to the frame. The canopy had three holes in it already for screws, so I twisted some wire together and left long pieces sticking out.


I wrapped the long ends around the frame to secure it in place. I tried to centre the canopy as best as I could.


It was ready to be wired for it's debut!

My Dad came over and did the install for me. I don't like working with electricity so much. No more boob light here!

It casts the coolest shadows at night too!

The light bulb can be easily changed out by just reaching up the middle. This light fixture cost about $25 total. I call that a win!

My front entry is now finished! I'll post the reveal and some before and afters in the next few days!
Brilliant! It looks awesome!
ReplyDeleteI wondered when a capiz shell light fixture was going to make an appearance... looks great, Mel!! :)
ReplyDelete