Thursday, August 6, 2015

Hej Då IKEA

I suppose it is now time to let the blogging world know that I decided to leave my job at IKEA this summer.  My last day was actually July 25th, so I've been on true summer vacation since then.  It was a hard decision to leave, but one I knew was coming.  Between teaching, tutoring, and IKEA during the school year, I rarely had downtime.  Sunday was my only day or evening off during the week, and it was usually filled with house chores like cleaning, laundry and grocery shopping.  Then Monday morning the crazy routine would start all over again!

By about May of this year I had hit a wall and needed a break.  What most people don't realize is that even though the store closes at 9, my department was often scheduled until 9:30 or 10:00pm.  But really that meant nothing, because we had to stay until all the orders from the day had been processed.  Sometimes that meant I was at work until 11:30 at night on busy days. After having been at school since 7:30 in the morning, I usually got a little grouchy by that point! I ended up taking a leave of absence from my job for the month of May.  It was the best decision I have ever made! I got to do things and hang out with family, friends, and coworkers that I never had time to do before because I was always working.  I got to cook more meals at home instead of reheating leftovers in a work microwave.  But the best part was being able to come home from school and not have to rush out the door to go somewhere else.  I was home for the night.

While I was off, I got offered two new jobs, both in the music and teaching field.  It was like the heavens (or my friends!) knew I needed a change!  While these jobs will also keep me busy come the fall, the hours are much more regular and reasonable, and they are in the field that I studied and want to pursue.  I went back to IKEA in June and submitted my resignation for the end of July.

While my job was long hours and sometimes back-breaking work, I did enjoy it.  My coworkers were great, and I will miss them a lot!  They are what made the job bearable sometimes!  And sadly no more employee discount #boo.  I won't miss the crazy customers and the insanity that is IKEA on a weekend though!  Thank you IKEA Ottawa for a great three and a half years :)


Saturday, July 25, 2015

Hallway Reveal

I don't really have a hallway...it's just a strip of floor behind my sofa that splits off into three doors.  But it has two walls and a ceiling so why not dress it up a bit!  I don't actually have a picture of what I looked like when I moved in... #becauseitsnotarealspace  Picture white walls and a boob light!

Here is how the hallway looks today :)


The homemade dominoes are by far my favourite art pieces.


 My family and my dog get prime real estate on the walls too.


And who can forget swapping out the good ol' builder boob light for this beauty!  I love turning it on at night and seeing the shapes it makes on the walls.


Here is a resource list for everything in the hallway:

Walls:
Paint: Camouflage (Benjamin Moore colour matched to Behr)

Lighting:
Glam Cobalt (Rona)

Accessories:
Photos: Homemade
Frames: On clearance at Michaels
Dominoes: Homemade (inspired by Shanty 2 Chic tutorial)


Want to read about the hallway reveal from the beginning?  Here is a list of all the published posts along the way!

Wednesday, July 22, 2015

Long Time No See!

So....11 months since my last blog post....

I started this post back in January during exam week thinking I was going to get back into blogging...that totally didn't happen.  Between teaching, IKEA, and tutoring, blogging took a major back seat.  LOTS has happened and hopefully I can get some updates up on the blog and fill everyone in on the happenings both in my house and life!

Kitchen:
I replaced the overhead light in my kitchen with a track light.  I had been wanting to do this for a really long time.  The single overhead didn't provide enough light, especially at night when I tried to do my dishes and half the sink was covered in a shadow.  Now every work station is illuminated!


Den:
My den has seen the biggest transformation.  The walls got painted a very bright blue!  The colour is Electric Blue by Benjamin Moore.  (It's the same colour as Carrie's apartment in the Sex and the City movie...that was an accidental discovery!)  It's not quite as offending on the eyes as the pictures make it seem ;)


I also picked up some discontinued Ikea bookshelves of Kijiji for super cheap.  They were originally pine, but I painted them white to contrast with the walls.


My sister found this shelving unit in the garbage this past summer.  (She finds the BEST trash...I am never this lucky.)  I took the legs off it, and painted it white also.


The furniture in my den got moved around to different walls, with the bookshelves serving as a built-in-type unit around my desk.  The garbage unit piece got flipped upside down and hung between the two bookshelves.  Now all my school books and resources will have a home!


Living Room:
You may remember when I went to Third World Bazaar two years ago.  Well, I went again in the fall and picked up a really nice Moroccan vase, some peacock feathers, and flowers made of thinly cut wood.  I combined them with some twisted sticks I had in a closet to create a corner display with Stevie Bird. (Sorry for the pajamas in the background...just keeping it real...)


I'll try and be better about posting new updates.  The quality of some of these photos is also pretty bad, but I wanted to get an update out regardless!  I still need to do some individual room reveals too. Even if I only get 1 post out a month it will still be an improvement.  I am still alive! #needmorefreetimeforblogging


Friday, September 26, 2014

Easy DIY Charging Station

Technology...I love it, but hate all the cords required for it to work!  I needed a place to corral the charging cables for my phone and various other electronics.  I know there are proper charging stations you can buy, and there are even some DIY's out there online too, but I wanted something cheap and easy.

So I took a walk over to my local Dollarama and lo and behold found this great turquoise box.  It even had a lid. I transformed it into a decorative charging station using nothing other than scissors.


It's made of cardboard, so I cut a hole in the back just large enough for the end of the phone charger to fit though. 


Then it's simply a matter of plugging your phone in to charge!  I tend to leave the lid off when my phone is charging, just to let the heat escape.  But otherwise the lid goes on and it looks just like a normal box.  


Is it the most glamorous?  Probably not.  Was it cheap? At $2.50 I'd say yes.  And I love the blue.  It matches Stevie Bird's feathers!  For now, it's a solid win on organizing my charging devices.

Monday, September 1, 2014

Dominoes - The Oversized Pieces Edition

Alas, it is the first day of September.  I'm always a little sad on this day.  It means the warm days of summer are almost over and winter will be here before we know it.  It means back to school and back to the crazy pace of normal life.  Labour Day weekend is our busiest time at IKEA since we are in a city with 2 universities and a college, so I'm grateful that Labour Day is a holiday and I get to enjoy the outdoors one last time.  I'm currently cooling off on my balcony after a hot morning in the sun :)

I wanted to share with you a project I completed a few weeks ago when I was up visiting at my parent's trailer. I was bummed that summer was almost over and I had not completed 1 thing on my summer to-do list yet (I had grand plans, haha).  So I took my supplies with me and completed it with my mom, and I am sooooo pleased with how it turned out.  I present to you, my new set of dominoes.


I got the idea from Shanty 2 Chic and had pinned their domino tutorial before I'd even moved in.  I won't give you the full tutorial as theirs is fantastic, I'll just show you some pictures along the way!  (I did this at the trailer don't forget, so enjoy the backgrounds of the lake, fire pit, picnic table, etc!)

I started with a 2 x 10 piece of lumber I got at Home Depot for under $10.  I had it cut there into sections 16" long.  This gave me 6 sections and I picked the best 3 (now I have 3 extra pieces left to make something else!)


We sanded them down, with the sander and by hand, to get nice rounded corners like a domino.


I gave each one 2 coats of paint.  I used Cozy Cottage by Behr.  They no longer carry the paint chip, but if you ask, they can still make it for you.  I just got a little test pot.


Then, I took some coarse sandpaper, and roughed up the edges again, as well as the corners, removing some of the paint.  I applied a Red Mahogany stain to the newly sanded areas.  This step did not work like I thought it would.  The stain went on purple and I was worried I had ruined them.  Not only that, it stained the areas that were still painted, not just the sanded parts.  So after I stained the edges, I went back over them with a very fine sandpaper and removed the yucky parts.  You can't even tell now!


It poured rain for the next few days so I finished off the painting of the dominoes in the trailer.  I marked off the centre line with some painter's tape and dry brushed some black paint on.


Then came the hard part - how do we draw on the dots so they are symmetrical... My mom came up with the idea of making a stencil. But we weren't sure how to do that, and I didn't bring supplies for stencil creations... so we used the back of a magazine cover, and traced the bottom of a plastic cup.  We broke our brains a few times trying to figure out the math, but after one failed attempt we ended up with a kick-butt stencil that would work for any number.  Like the centre line, I dry brushed the dots in black.


Shanty 2 Chic's tutorial mentions using a glaze as the final step.  I couldn't find the glaze they used (Home Depot no longer carries it) and after researching glazes, I wasn't sure I even wanted to do the next step. Making your own glaze sounded way too complicated.  But the dominoes were also too "white" looking. They didn't have the vintage, aged look to them I was going for that the glaze would have provided.  So I took them home and pondered this for a few days.  After my sister saw them, she suggested using a wax finish.  I had never heard of this either, so I researched wax finishes as well.  It seemed much more user friendly.  I found one brand of wax that was carried by Home Hardware that had a dark finish to it.  I could only find clear finishes at Lowe's, and Home Depot, but you may have better luck than me!  I picked up a small can of Minwax Finishing Wax for Dark Surfaces.


Basically, you put a ball of it in a cloth that is not woven tightly (they suggested cheesecloth, which I didn't have, so I used a Jay cloth instead).  Then when you press the cloth on the domino, the wax oozes out the holes in the cloth.  It's simply a matter of rubbing the cloth over the entire domino until you get the effect you are looking for.  More wax + more pressure with the cloth = a darker finish.  FYI - this stuff smells bad and is pretty messy so I suggest doing it outdoors or in a well ventilated room!


Here you can see the difference between the original domino (left) and the waxed domino (right).  


I attached a saw tooth hook on the back of each for easy hanging.


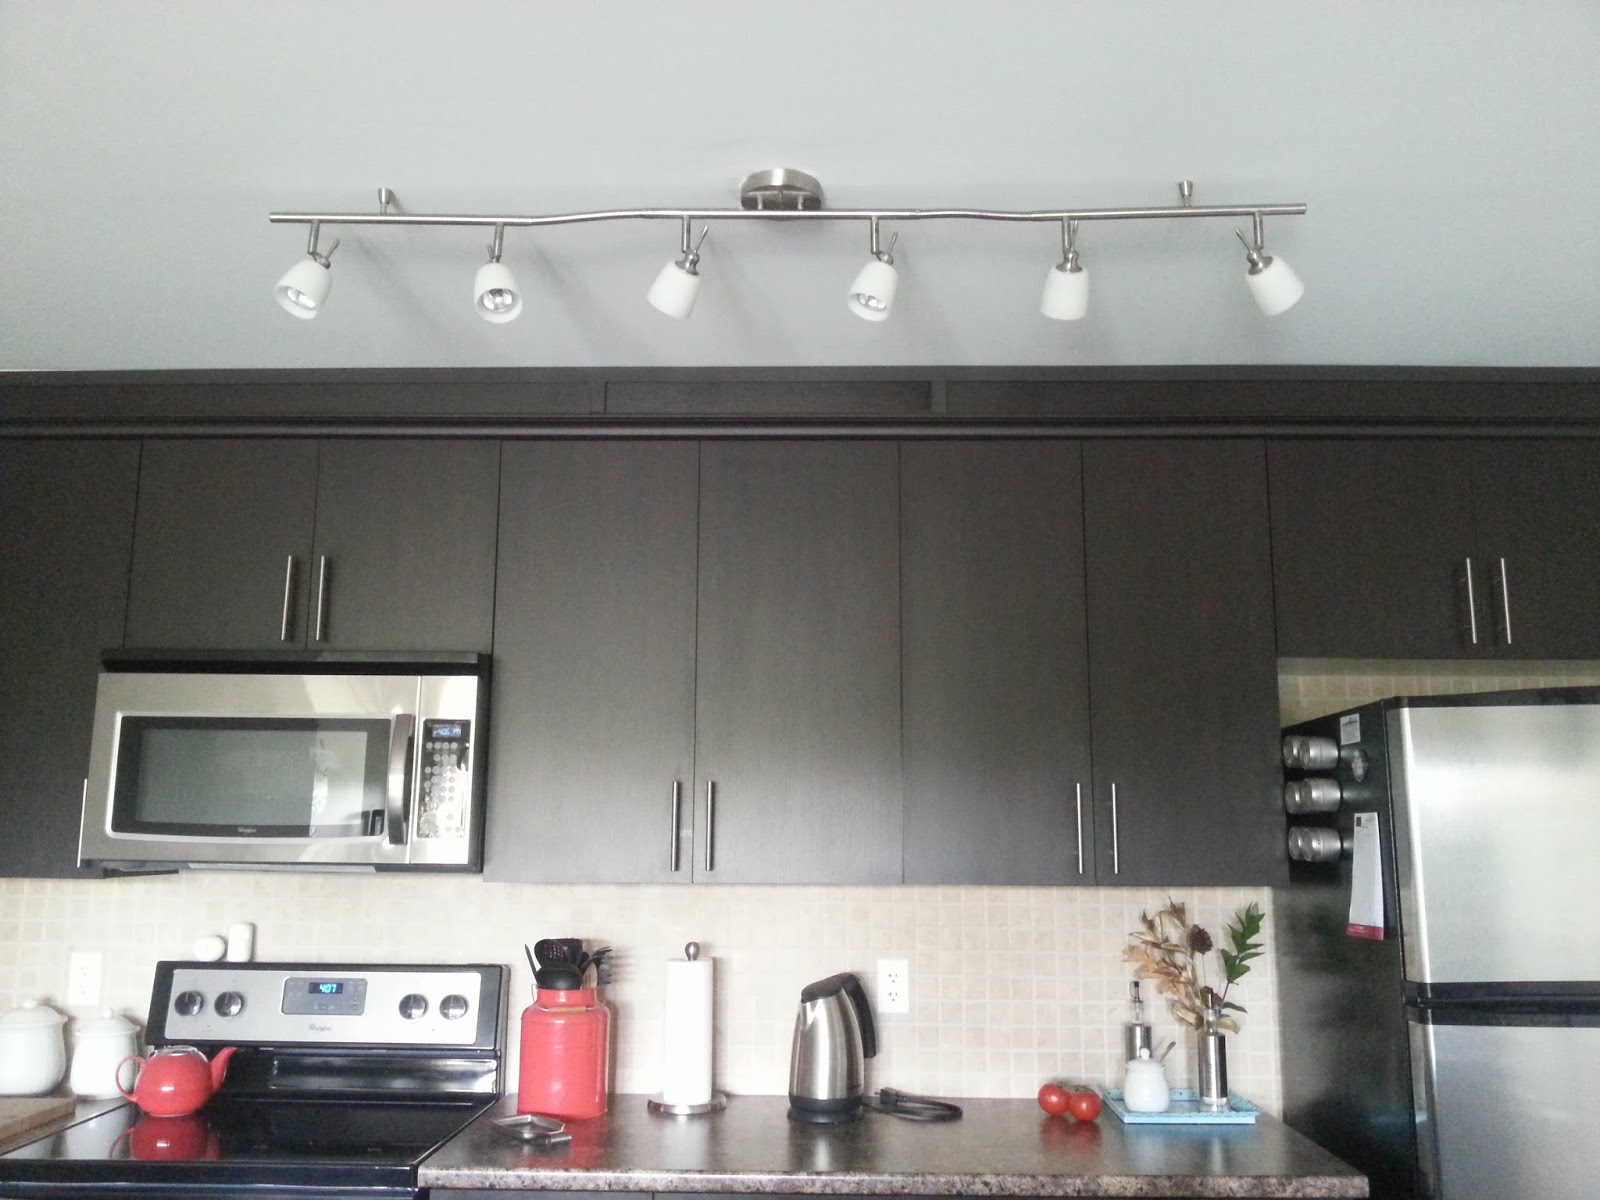
I hung my dominoes on the wall that separates my kitchen from my bedroom.  I call it my teeny-tiny hallway :)


I adore how they turned out and they draw your attention away from all the thermostats and switches on that wall.  Anyone up for a game of dominoes now?  #Ihavenoideahowtoreallyplay  


PS.  When you do a project at the trailer you sometimes have to improvise when you forget to bring things with you and the nearest store is an hour away!  Some things I used that were/were not photographed:

-Sticks from a tree with their dirty bark peeled off as paint stir sticks
-A rolled piece of tinfoil as a paint stir stick (for the rainy days when the sticks are no longer viable...)
-Firewood to raise the dominoes off the ground for painting
-Fingernail scissors to cut out the stencil
-Plastic disposable cup as a round tracer
-Magazine cover as a stencil
-A plastic bag wrapped and taped around my hand to use as a glove when staining
-A toothpick, a jay cloth, and a tiny piece of jay cloth (basically lint) to use for staining (hence the need for the plastic bag hand cover)

Never a dull moment when you DIY ;)