Showing posts with label Front Hall. Show all posts

Wednesday, July 16, 2014

Welcome Walter

I'd like to introduce you to Walter...Walter Concrete.  (He's a distant cousin of Walter Cronkite...)


I picked him up at TJ Maxx in New York when I was there last November.  He has sat in my front entry since then to greet me when I arrive home.  He's actually made of concrete...maybe he's meant to go outside...I'm not really sure... He was in the clearance section, but I didn't want to hurt his feelings so he doesn't know #itsasecretdonttell.


For my birthday, my sister got me a cute little sweater for him to wear.  Now Walter is ever so dapper!  I thought about painting him, but can't bring myself to do it just yet.  So for now, he stays as Walter Concrete, my guard dog.


Thursday, August 1, 2013

Front Entry Reveal

The front entry came together rather quickly.  And by quickly I mean in a span of a few consecutive months rather than a span of several!

It started out very white, plain, and boring...


The it got a fresh coat of paint, some beadboard wallpaper, and a kick-butt stencil!  Now the entry is DONE!


My favourite part is the giraffe hanging out in the middle.  He is actually a door knocker given to me by my sister.  I can't put him on my front door so this was the next best thing :)  And if my neighbours get really loud I can just bang him against the wall (just kidding, maybe...!)


I created the printables in Photoshop and printed them out myself to be framed.  I got the red and black frames from IKEA at 50% off.  They are the Nyttja series and were $1.00 each.  Big spender I know... The lip on the top of the shelf isn't that thick, so I put some Sticky Tac on the backs of the frames to hold them in place in case someone slams the door really hard and it shakes the wall.

The stencil is what really makes the front hall pop.  It was a labour of love, and my sister was a huge help in getting that project completed.  I love it and it turned out exactly as I wanted it to.  The wallpaper also adds just a tiny bit of character to this builder-basic entry.


It's great having a place to hang my coats and my purse when I come home now, instead of just throwing them on the floor or a chair.


And the boot mat that I made last winter out of rocks is still holding strong through all the seasons.


I blogged about the making of the light fixture and I couldn't be more thrilled with it.  It's so interesting and unique!


Here is a resource list of everything in the room:

Walls
Paint: Camouflage (Benjamin Moore).  The stencil is done in a generic flat black
Stencil: pattern printed from While They Snooze
Wallpaper: Style Selections Beadboard Paintable Wallpaper (Lowe's)
Chair Rail and Corner Round: Home Depot

Light Fixture
Capiz Candle Holder: Homesense
Ceiling Canopy: found in my parent's basement!

Hook Board
Board: Home Depot
Hooks: Home Depot

Boot Mat
Tray and Rocks: Dollar Store

Accessories
Giraffe Door Knocker: gift from my sister! (but I believe he came from Anthropologie)
Frames: IKEA
Door Mat: Walmart
Printables: created by me!

This is the first "room" in the condo that is totally finished.  It's awesome that I get to see it everyday when I come home :)


Want to read about the front entry redo from the beginning?  Here is a list of all the published posts along the way!


Tuesday, July 30, 2013

DIY Capiz Shell Pendant Light

Only 1 week left of the IKEA Kitchen event thank goodness!!!!... these things come around every few months and they are brutal for my department.  My feet throb when I get home!  A nice excuse to sit on the couch with my feet up and read some blogs if I do say so myself!

Ok back to our regular scheduled programming...

The majority of the lights in my house are standard issued boob lights.  You know the ones...


For the record, I can't walk down the lighting aisle in hardware stores without giggling to myself at them all hanging there... Mine are luckily missing the "nipple", so it doesn't make them quite so bad.  But I still want to change them all eventually.  I just said nipple in a blog post...

I wanted a light fixture in my front hall that was different and interesting.  The catch was it couldn't hang down very low as my front door still needs to open and I have a dropped ceiling there.  I'd always liked the look of capiz shell chandeliers (both DIY and non) but I never liked the shape of them.  I think I liked the material more than the chandelier part.

Well, one day in Homesense, for $14.99, I found this:


It's a capiz shell pillar candle holder!  


I snatched it up, picked the one that didn't have any cracks, and proudly carried it home, knowing I could convert it into a light somehow.

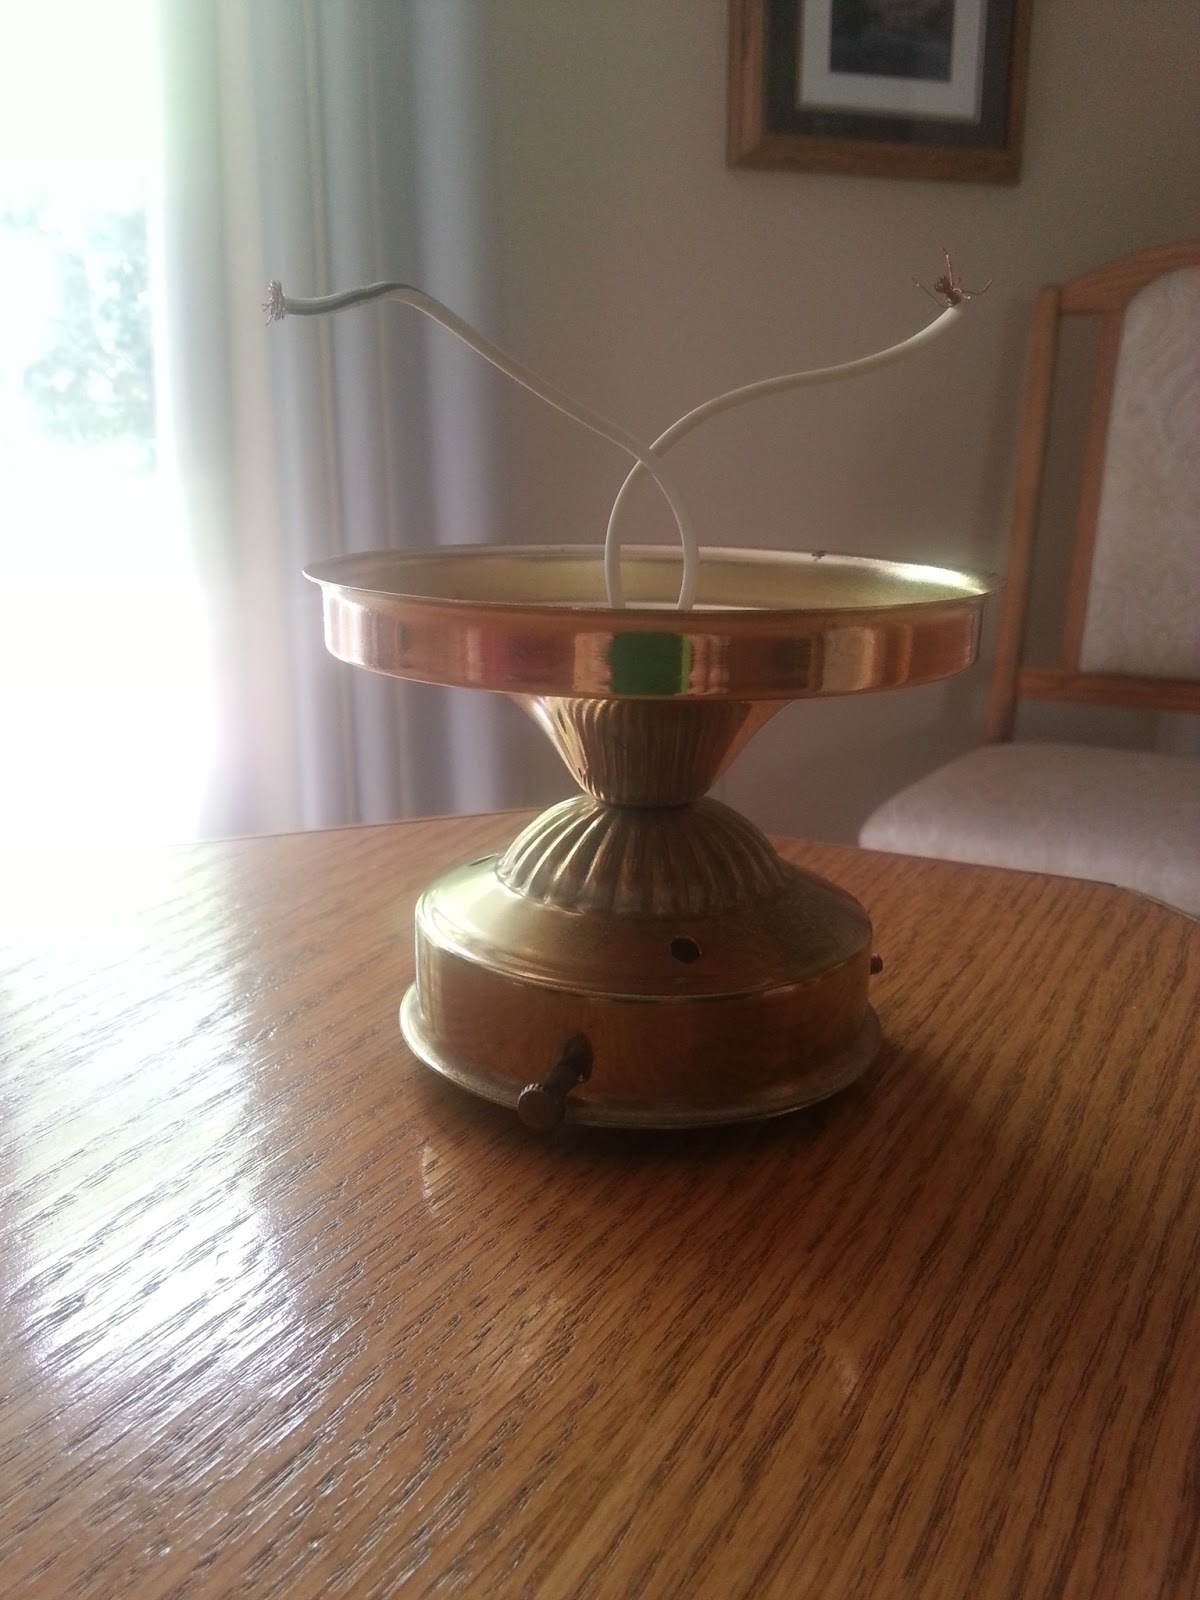
When I told my mom about my plan, she sprung into action and checked her basement for old lamp parts. Low and behold she found this.  A ceiling canopy that has a place for a light bulb and is already wired. SWEET.


So I took to removing the candle holder part on the inside.  Totally thought wire cutters would do the trick. Nope.  Metal's too thick.  So I went with the good ol' hack saw and sawed right through the three pieces holding the round piece in the middle.


I spray painted the ceiling canopy silver and it was time to assemble!

   
I bought some thin wire from the hardware store for $2.00.  Since the canopy was smaller than the opening of the candle holder, I had to affix it to the frame.  The canopy had three holes in it already for screws, so I twisted some wire together and left long pieces sticking out.


I wrapped the long ends around the frame to secure it in place.  I tried to centre the canopy as best as I could.


It was ready to be wired for it's debut!


My Dad came over and did the install for me.  I don't like working with electricity so much.  No more boob light here!


It casts the coolest shadows at night too!


The light bulb can be easily changed out by just reaching up the middle.  This light fixture cost about $25 total.  I call that a win!


My front entry is now finished!  I'll post the reveal and some before and afters in the next few days!


Monday, July 22, 2013

Captain Hook and Some Extras

Before I had even moved in, I wanted to put hooks on the wall behind my front door.  Call me lazy, but having to hang my coat up on a hanger in a closet, every time I came in when I KNEW I was going to be going out again in a few hours, drove me crazy.  So I usually just threw my coat on my living room chair until I needed it again. A year later, and I have my hooks!

1 piece of pre-cut and pre-primed moulding from Home Depot (it might even have been a scrap piece, I'm not sure...it was about $7.00)


+
3 coats of white paint, measuring, and pre-drilling screw holes


+
4 hooks from Home Depot


=
The best place to hang your coats and bags!

I didn't get a picture of the board before we hung it on the wall and I don't want to give too much away just yet! You'll have to stay tuned in the next few days for a much better glimpse!  Promise! (Click here for the front entry reveal which features the wall hooks!)

In other news I just got back from a nice week-long vacation.  I went up to my parents' trailer near Chaffey's Locks.  It was so hot outside, but definitely the best summer weather we've had so far!  The highlight (or lowlight...) was this giant black rat snake.  The thing was 5 feet long and had slithered right under my lounge chair while I was reading!  I hate snakes and was terrified...ewww...


We had a bit of wild weather while we were there but nothing compared to what the condo faced at home.  I came home to this picture a colleague of mine posted on Facebook.  This is only a few streets over from my little home!  


Thank goodness it never turned into a real tornado and there was no damage.  My plants all blew over on my patio which required a good clean up on my arrival home, but luckily everything is still living.

PS.  Just wanted to remind you that you can still  follow my blog with Bloglovin so you don't miss any posts! 

Thursday, June 20, 2013

DIY Moroccan-Style Wall Stencil

I stenciled the walls of my front entry way.  This is one of the best DIY projects I have ever done.  It's right up there with the ottoman and the corner shelf hack.  I'm so proud of the way it turned out!  Let's start with a little Before and After, then I'll get into the details of how I did it!

Before:


After:


Here's how I did it!

The first step was to install the bead board wall paper.  I bought the chair rail from Home Depot and my Dad came over with his miter saw and did the cuts and the installation.  I then gave everything, including the wallpaper, two coats of white paint to make it all uniform in colour.

I read and pinned on Pinterest a few tutorials on how to stencil a wall before I started.  My favourites were Sarah's from While They Snooze (which is where I also got my template from), Kathryn's from Nanny Goat, and Kate's from Centsational Girl.  I thought I had everything all figured out, then my sister came over and told me my ideas would not work.  Turns out she was right...sometimes my ideas need vetting before they come to fruition, haha

I printed my template and glued it onto some cardboard to make it stiffer.  Realize that the bigger you make your shape, the less work it is!  Most tutorials advise printing your shape on multiple pages and making it quite large.  Honestly, I couldn't figure out how to print the shape larger with my computer so I left it the standard size.  I think since I didn't do a complete wall, the smaller size worked, but for a complete floor to ceiling stencil I would go larger.


I taped a level to the stencil to ensure that each time I repositioned it, it would remain level.  That helped tremendously.  Then it was just a matter of tracing the stencil over and over onto the wall.  A lot of this project was done by "eye balling it".  I traced the first pattern, moved it a bit to leave a gap then traced again, moved it to leave a similar gap and traced again, etc.  


To do the corners, I printed another copy of the stencil but didn't glue it to cardboard.  The bendy-ness of the paper allowed it to be folded and traced in the tight spaces.


Once everything was traced it was just a matter of painting between the lines.  I had a few disagreements with my sister on what colour to paint.  I originally was going for a non-dramatic shimmery taupe.  My lovely sister called the colour opalescent urine... So we tried white.  It was okay, but we were running into the issue that we had traced with a pencil.  FYI - light coloured paint doesn't cover pencil.  I recommend if you want to do a light colour stencil then trace with something that is similar in colour or be prepared to do multiple multiple coats.  So we tried black and it looked really good and it covered the pencil.  It was more "in your face" than I was going for originally, but I love it now!  Here is our testing phase (don't worry, the test spots got covered by the chair rail!) and partway through the painting process.  


If you were to get up close and really study it, you would see that the gaps aren't all quite perfect and the lines aren't all quite uniform, but from far away, the effect is that everything is the same.  (And really the only people that notice the imperfections are your own family members anyway who get super up close and stare at it!)

In total, it didn't really cost anything.  I used black paint that was already on hand, and printed the stencil myself.  It only cost time and manual labour!  My sister helped a lot.  She spent one Friday night and a whole Saturday working on it while I was away at work.  Then I plugged away on it for the rest of the week when I wasn't at work. So about 5 days and quite a few hours...but the end result was totally worth it!  Even when you just pick away at it, you will finish!  

I love it and keep making trips to my entry just to look at it!  It makes the entry so much "homier"!